Output
This package provides flexible control over how captured terminal output is returned or saved. This is done through two key options: output and outputPath. These options let you control how the output is returned programmatically, and give you the ability to save it directly to a file in different formats. Supported output formats include SVG, PNG, JSON, and YAML.
Rendering longer terminal captures to PNG can be slow, so it's recommended to first save captures as a JSON or YAML data file (more about this below) and then use the renderData method on that file to generate the PNG.
When rendering to PNG, you can set the logLevel option to 'info' or higher to receive progress updates.
The output option
The output option controls the returned output format of each function in the API, which is useful when you need to further process or manipulate the output in memory. It defaults to 'svg', but you can alternatively specify 'png', 'json', or 'yaml' ('yml' is accepted as an alias for 'yaml').
Example:
- svg
- png
- json
- yaml
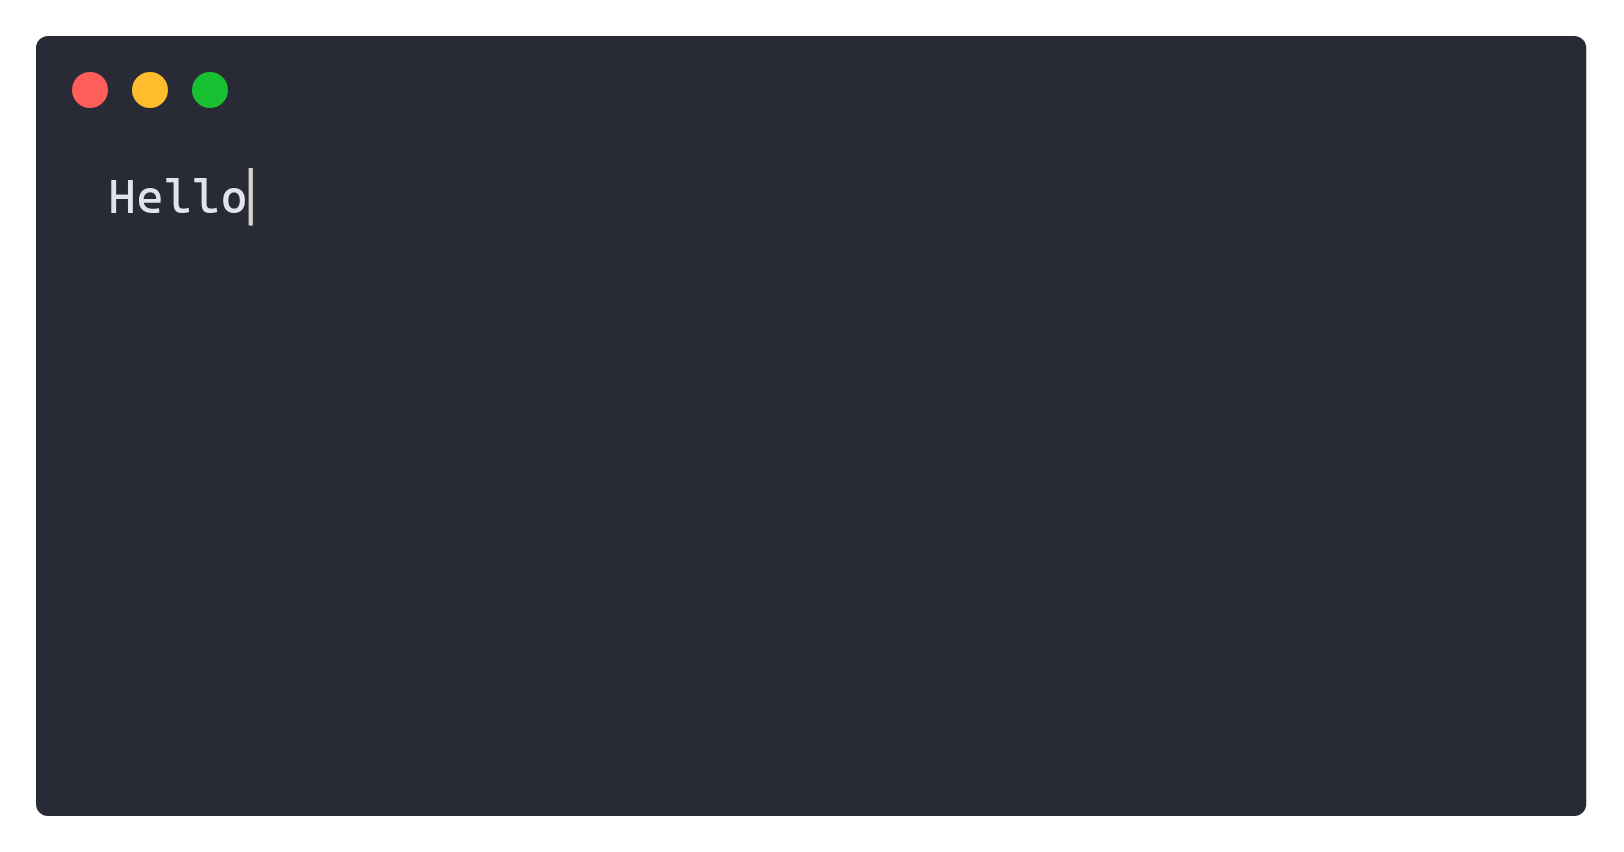
import { renderScreen } from 'cli-screencast';

renderScreen('Hello World!', {
    output: 'svg',
    columns: 50,
    rows: 10,
}).then((string) => {
    // Handle SVG string here
});
import { renderScreen } from 'cli-screencast';

renderScreen('Hello World!', {
    output: 'png',
    columns: 50,
    rows: 10,
}).then((buffer) => {
    // Handle PNG buffer here
});
import { renderScreen } from 'cli-screencast';

renderScreen('Hello World!', {
    output: 'json',
    columns: 50,
    rows: 10,
}).then((string) => {
    // Handle JSON string here
});
import { renderScreen } from 'cli-screencast';

renderScreen('Hello World!', {
    output: 'yaml',
    columns: 50,
    rows: 10,
}).then((string) => {
    // Handle YAML string here
});
The outputPath option
The outputPath option allows you to directly save the output to a file in a specified format. The file format (SVG, PNG, JSON, or YAML) is automatically inferred from the file extension provided in each path (e.g., .svg, .png, .json, .yaml, or .yml). Paths that are not absolute are resolved relative to the current working directory.
The following example demonstrates how to save a capture in all four formats, each to its respective output file:
import { captureFrames } from 'cli-screencast';

const frames = [
    { content: 'Hello', duration: 1500 },
    { content: ' World!', duration: 1500 },
];

captureFrames(frames, {
    columns: 50,
    rows: 10,
    // Save capture in multiple formats simultaneously
    outputPath: [
        './capture.svg',
        './capture.png',
        './capture.json',
        './capture.yaml',
    ],
});
The four resulting files are saved to the current working directory:
- capture.svg
- capture.png
- capture.json
- capture.yaml

{
  "version": "1.0.0",
  "type": "capture",
  "columns": 50,
  "rows": 10,
  "tabSize": 8,
  "cursorHidden": false,
  "writes": [
    {
      "content": "Hello",
      "delay": 0
    },
    {
      "content": " World!",
      "delay": 1500
    }
  ],
  "endDelay": 2000
}
version: 1.0.0
type: capture
columns: 50
rows: 10
tabSize: 8
cursorHidden: false
writes:
  - content: Hello
    delay: 0
  - content: " World!"
    delay: 1500
endDelay: 2000
Combined Usage
You can use both the outputPath and output options together. For example, you might want to programmatically get the SVG string for further manipulation, while simultaneously saving the output as a PNG file:
import { renderScreen } from 'cli-screencast';

renderScreen('Hello World!', {
    output: 'svg',
    // Save capture directly as a PNG file
    outputPath: './screenshot.png',
    columns: 50,
    rows: 10,
}).then((string) => {
    // Use the generated SVG string here
});